


📌 Key Takeaways
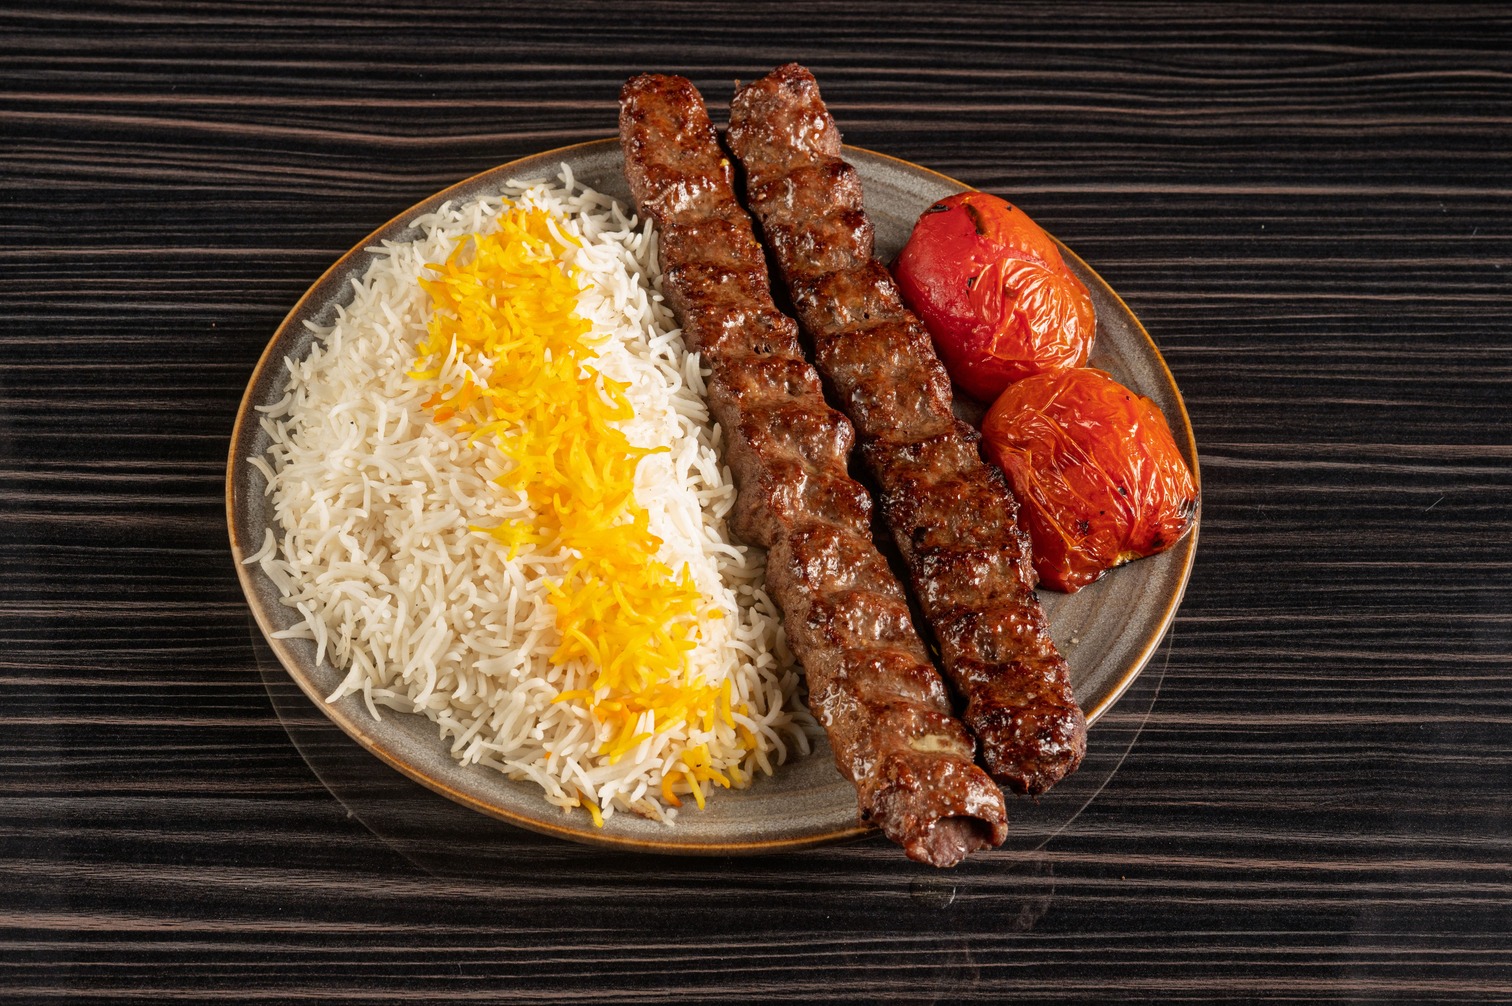
Learn how to make authentic Persian beef koobideh at home with juicy, flavorful ground beef and the right balance of seasonings. This step-by-step recipe covers everything from preparing and mixing the meat to shaping it on skewers and grilling it to perfection.
Koobideh has been made in home kitchens across Iran for generations and remains a popular part of Persian food. The technique varies a bit from house to house. The basic idea stays the same: ground meat, grated onion, and enough fat to keep everything from falling apart on the flame.
Failed attempts come down to one of two mistakes. The meat is too lean, or the onion juice never gets squeezed out properly. Fix those two things and the rest is fairly forgiving. This particular Persian beef koobideh recipe sticks with beef specifically because beef is more widely available than lamb in most grocery stores and is easier for a first attempt.
What Is Persian Beef Koobideh?
Koobideh is grilled ground meat, usually beef or a beef and lamb blend, seasoned with grated onion, salt, and pepper, then shaped onto flat skewers.
The name comes from "koobidan," a Persian word that means to pound or grind. That's really the whole idea behind this dish. You work the meat by hand until it turns smooth and a little sticky. No eggs. No breadcrumbs. Just meat, worked properly, until it holds itself together.
Why Fat Content Matters So Much?
Lean beef dries out fast under high heat. It just does. Fat is what keeps the kabob moist and carries the flavor while it cooks, so this isn't a place to cut corners.
Beef Koobideh Ingredients
The ingredient list here is short. That's kind of the point. Simple ingredients, handled the right way, beat a long spice rack every time.
Ground beef with real fat content. Go for at least 20% fat, and 25% is even better. Skimp here and you end up with something closer to a dry meatball on a stick than an actual kabob.
Grated onion, not chopped. Grate it on the small holes of a box grater, then squeeze out most of the liquid. Grated onion blends into the meat instead of leaving chunks that weaken the mixture.
Salt and black pepper. That's the seasoning, full stop. A few cooks add a pinch of turmeric or a little baking soda for tenderness, but salt and pepper carry the flavor.
Sumac, for serving. Not mixed in. Sprinkled on top after grilling, for a tart, lemony bite that cuts through the richness of the beef.
No eggs, no filler, no long spice blend. If a recipe calls for a dozen spices, it's probably not traditional koobideh.
How to Make Koobideh?
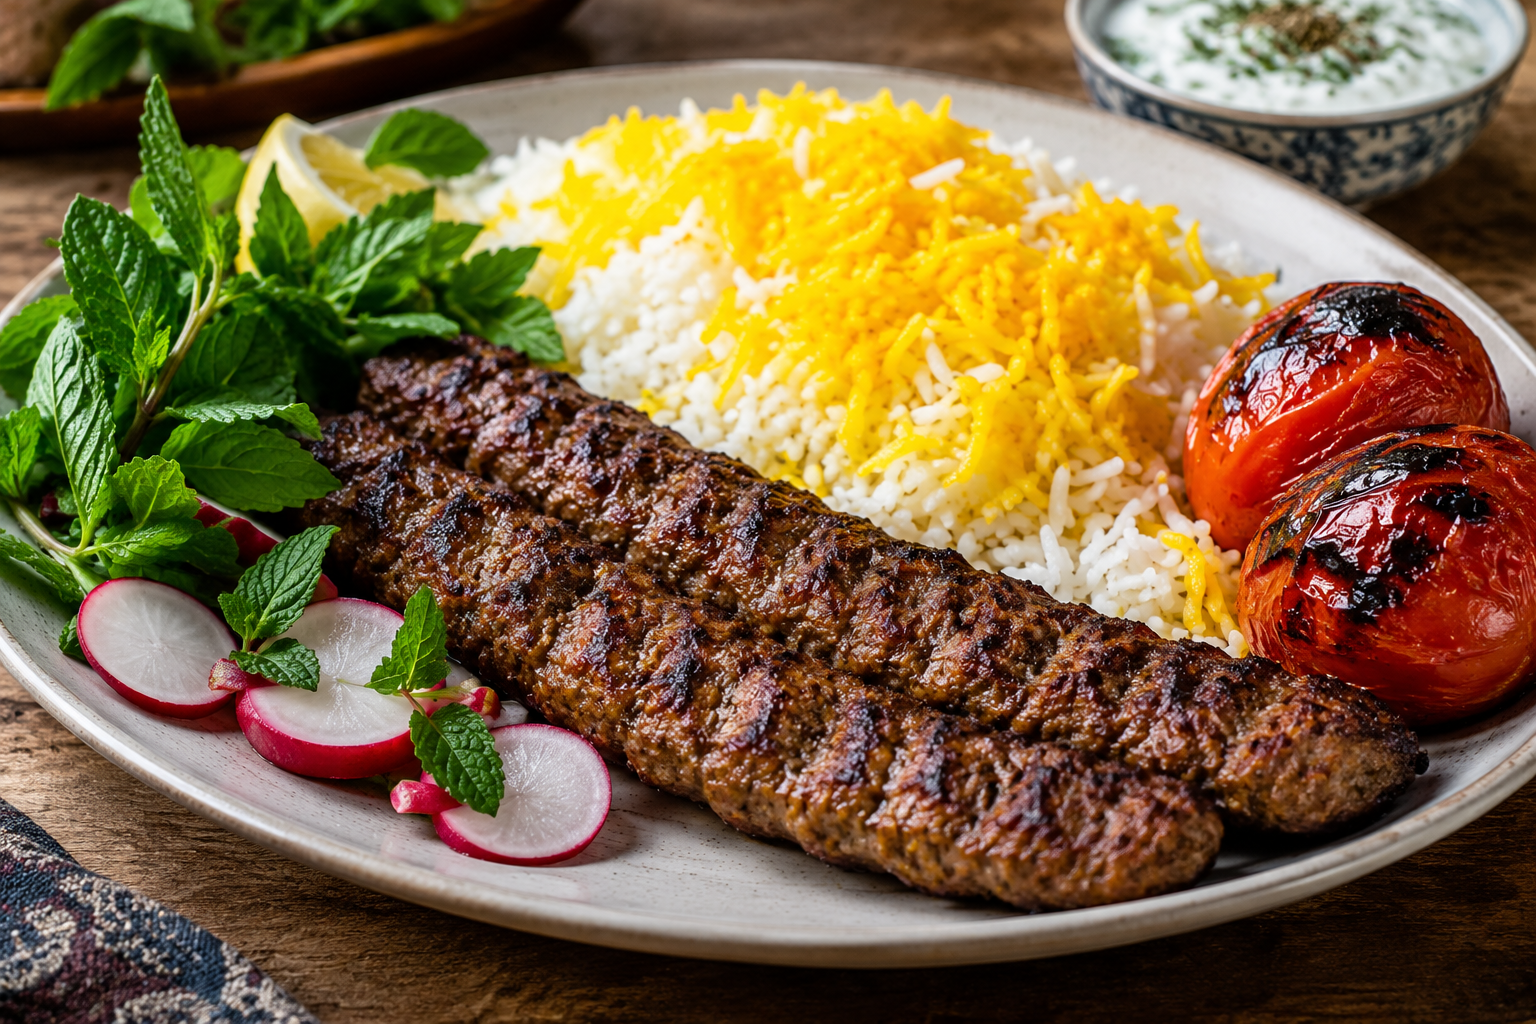
Getting koobideh right has less to do with the recipe card and more to do with what you do with your hands. Firstly, the meat needs proper handling before it ever sees a skewer. Additionally, shaping and grilling matter just as much as the mix.
Mixing the Meat
Combine the beef, grated and squeezed onion, salt, and pepper in a large bowl. Now comes the part people rush, and shouldn't: kneading.
Work the meat by hand for five to seven minutes, until it turns sticky and tacky, almost like dough. That texture is the meat's proteins binding together, and it's the entire reason koobideh doesn't need eggs or filler.
Skip this step, or rush it, and the meat crumbles the second it hits the grill grates. There's no shortcut around it.
Once mixed, cover the bowl and refrigerate for at least 30 minutes. A few hours works too. Cold meat holds its shape far better than meat left sitting at room temperature.
This hands-on preparation is part of what makes traditional Persian kabobs so distinctive, from the way the meat is worked to how it holds together on the skewer.
Shaping on Skewers
Use flat, wide metal skewers, not thin round ones. The flat shape gives the meat something to grip onto, and that matters more than people expect.
Take a handful of the mixture, roughly egg-sized, and mold it around the skewer into a long, thin log. Pinch and smooth the surface as you go, so there aren't any cracks or weak spots along the way.
Keep a small bowl of water nearby. Wet hands stop the meat from sticking to your palms and speed the whole process up.
Grilling Koobideh Kabobs
Get the grill fully hot before the meat ever touches it. High, direct heat is what gives koobideh that charred crust while the center stays juicy.
Lay the skewers across the grates rather than directly on them, so the meat isn't sitting in its own fat. Turn every couple of minutes using two skewers or a flat spatula, so the meat doesn't tear apart.
It usually takes eight to ten minutes total. You're looking for good color outside and a firm, springy texture, not mushy, not dried out either.
What to Serve with Persian Beef Koobideh?
Koobideh almost never shows up alone on a plate, and it shouldn't. Persian meals are built around balance, so the sides carry nearly as much weight as the meat itself.
Saffron rice, or chelow. The classic pairing. Buttery, golden rice that soaks up the juices from the kabob, plus a crispy tahdig layer if you're lucky.
Grilled tomatoes. Basically non-negotiable at a Persian kabob spread. Charred on their own skewer alongside the meat, then squeezed right over the rice.
Fresh herbs, or sabzi khordan. Mint, basil, tarragon, radishes, served raw. They lighten the plate and give your palate a break from the rich beef.
Plain yogurt. Sometimes mixed with cucumber or shallots. Cools everything down and adds a tangy edge that ties the whole plate together.
If cooking the full spread yourself isn't happening tonight, plenty of Persian restaurants do this well. For those looking for a Persian restaurant Houston locals can visit, a good koobideh plate is a perfectly reasonable choice.
Conclusion: Enjoy Flavorful and Juicy Koobideh Kabobs
A solid Persian beef koobideh recipe really comes down to four things: fatty beef, grated onion, a proper knead, and high heat. Skip the shortcuts, and you get kabobs that are charred outside, tender inside, and worth the effort.
 Omojet